
Hey everyone!
Today, I thought I’d write a post that is slightly different than what I usually write. As much as I love writing about philosophy, this is a post that I’ve been meaning to write for a while, and part of me suspects this one will be well-received, especially with the holidays being so close! In fact, I have it on good authority that this post has been well-anticipated by some of my followers…
In this post, I’ll give a recipe that I use to make gluten-free ginger cookies, a recipe that is extremely popular in my circles and always a favorite when I bring them to a party or social event. You can find the original recipe here. I must have done this recipe at least twenty times since last year and I never follow the recipe to a T, so I’ll just present the recipe that I use here. My readers should feel free to follow either recipe.
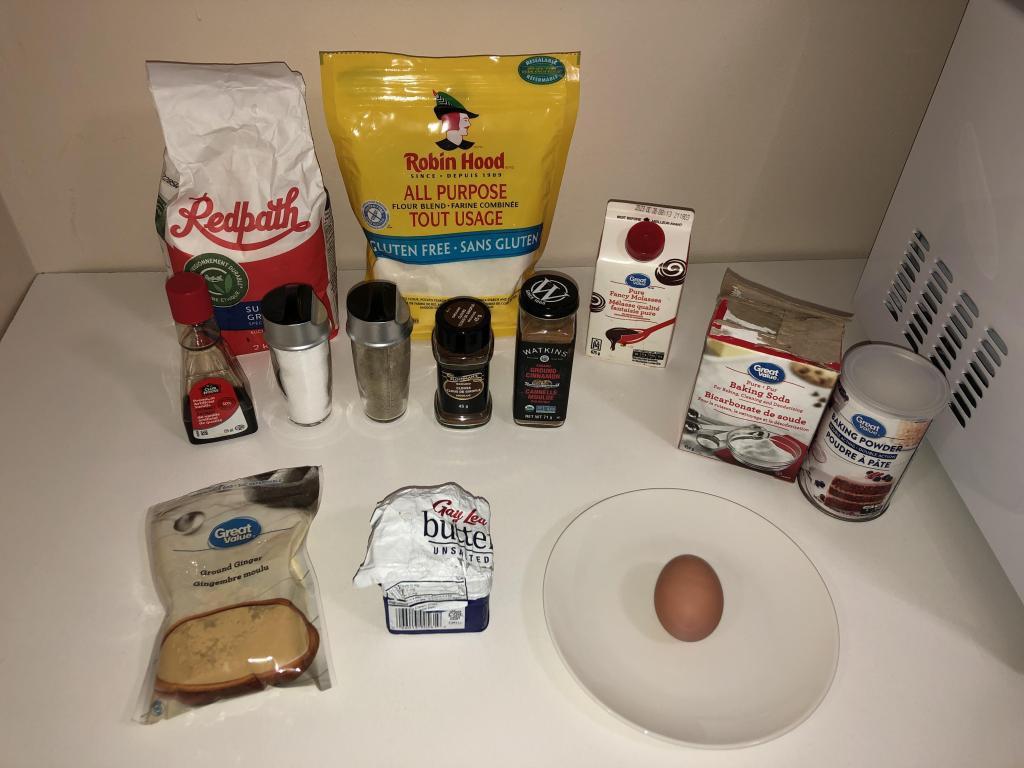
The ingredients that I use are as follows:
- 1 1/2 cups (210 g) all purpose gluten-free flour (I use Robin Hood)
- 1/4 teaspoon salt
- 3/4 teaspoon ground ginger
- 1/4 teaspoon ground cloves
- 1/4 teaspoon cinnamon
- 1/8 teaspoon freshly ground black pepper
- 1/2 teaspoon baking soda
- 1/2 teaspoon baking powder
- 3/4 cup (150 g) granulated sugar (I use Redpath)
- 6 tablespoons (84 g) unsalted butter, at room temperature
- 2 tablespoons (42 g) unsulphured molasses
- 1 egg (50 g, weighed out of shell) at room temperature, beaten
- 1 teaspoon pure vanilla extract
- Coarse sugar, for coating
In case the original recipe gets taken down for whatever reason, I’ve opted to essentially copy and paste the instructions and make the necessary adjustments. I’d prefer not pretending that everything in this post is original content, but the recipe really is worth preserving…
- Preheat your oven to 350°F. Line rimmed baking sheets with unbleached parchment paper and set them aside.
- In a large bowl, place the flour, salt, ginger, cloves, cinnamon, pepper, baking soda, baking powder, and sugar, and whisk to combine well. Create a well in the center of the dry ingredients and add the butter, molasses, egg, and vanilla, mixing to combine after each addition. The dough will be very soft but should hold together well and be smooth. Transfer the dough to a large piece of unbleached parchment paper and shape into a cylinder about 1 1/2-inches in diameter. Roll the cylinder tightly in the parchment, rocking it back and forth to create a proper cylinder shape, then twist the ends to seal. Place the shaped dough on a flat surface and place in the freezer to chill for about 30 minutes or until firm enough to slice.
- Place the dough on a cutting surface. Using a sharp knife and a smooth motion, slice the dough by cross-section into 10 equal pieces. Press each of the pieces of dough firmly into a mold, then place them in enough sugar for the sugar to adhere to the cookie dough on all sides of each piece. Place about 2 1/2-inches apart from one another on the prepared baking sheets.
- Place the baking sheets, one at a time, in the center of the preheated oven and bake until lightly golden brown all over and set in the center, about 10 minutes. Remove from the oven and allow to cool on the baking sheet for about 5 minutes or until firm.
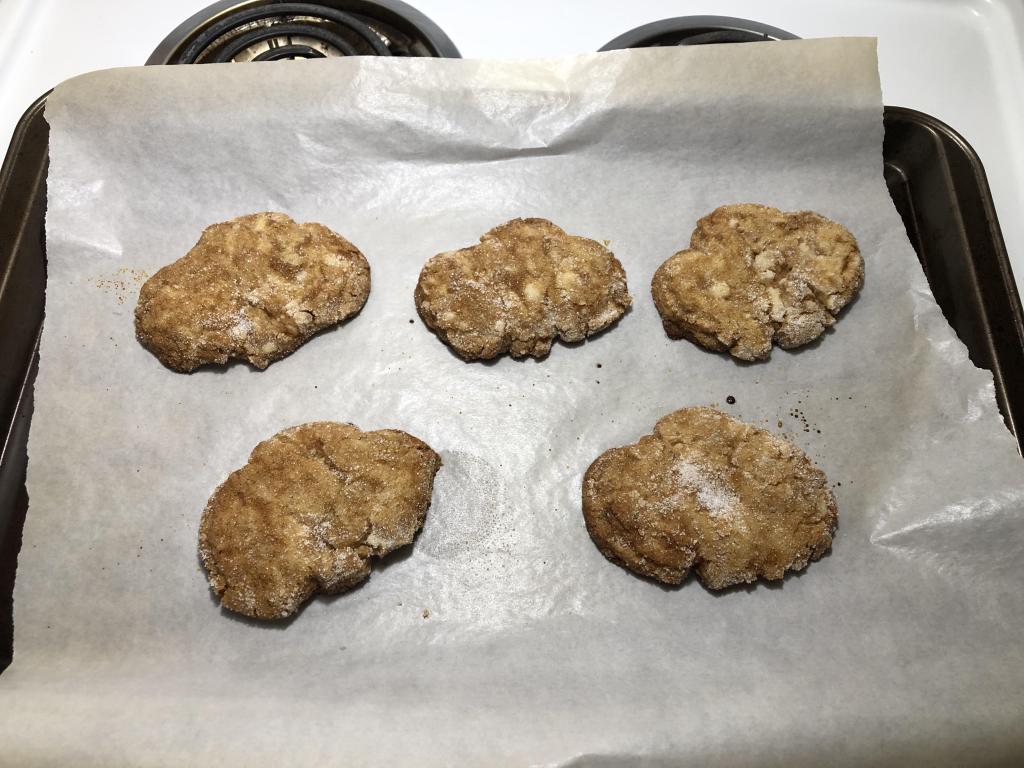
As you might be able to tell, the mold I usually use is a big heart with a smaller heart sticking out of it.
I actually used to flip the cookies instead of rotating the baking tray and the cookies would always end up crumbling like crazy! (I’m not sure what possessed me to do this.) The cookies still sometimes end up crumbly, but flipping them definitely make them a lot worse.
I also used to use a pan to melt my butter, but my girlfriend (who can never seem to get enough of these cookies) recommended that I simply use my microwave. Much quicker and less cleaning to do in the end!
A few things that I changed from the recipe:
- No xanthan gum (it really isn’t necessary, at least with the flour that I use).
- I’ve added cinnamon, it’s such a small amount so the difference really is trivial.
- The original recipe calls for a whisk, and I have left that part in, but I usually use a rubber spatula. It is a lot easier to clean and the end result is identical.
- I let the dough sit in the freezer for a bit longer than the original recipe to minimize crumbliness.
- The original recipe calls for twenty-four portions. I only make ten. Thus, I suppose my cookies are a bit bigger, but surprisingly, the original baking time is sufficient.
- I use a mold rather than leaving them in their original circular shape. This makes it easier to ensure consistency and also to compress the cookies a bit.
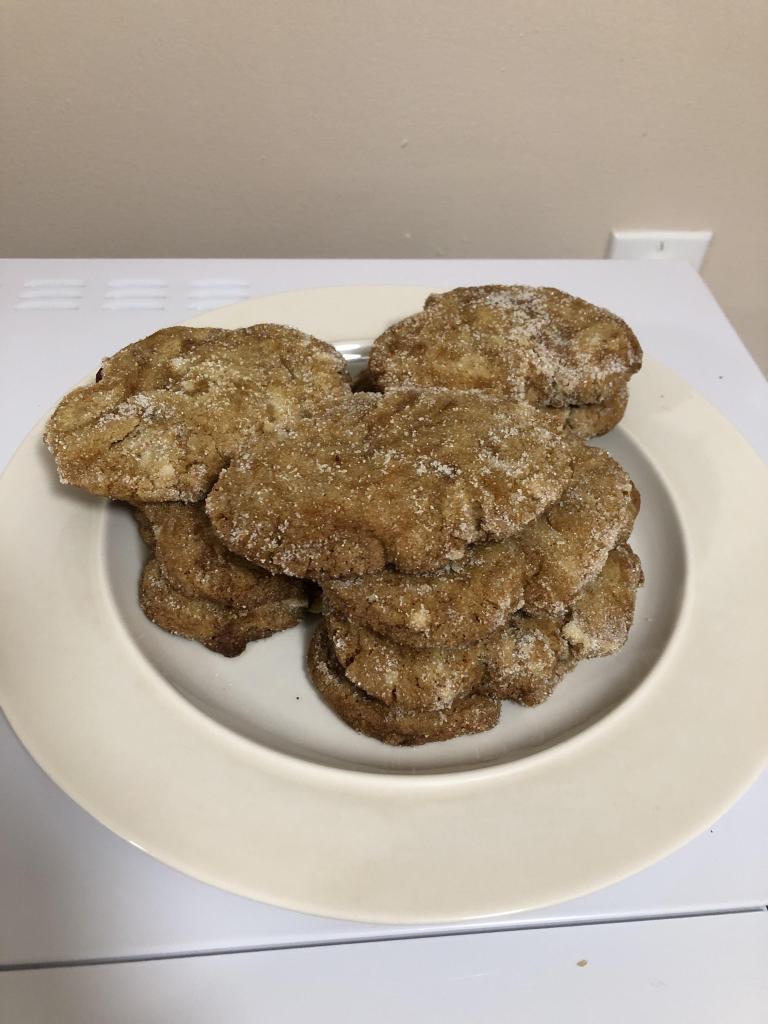
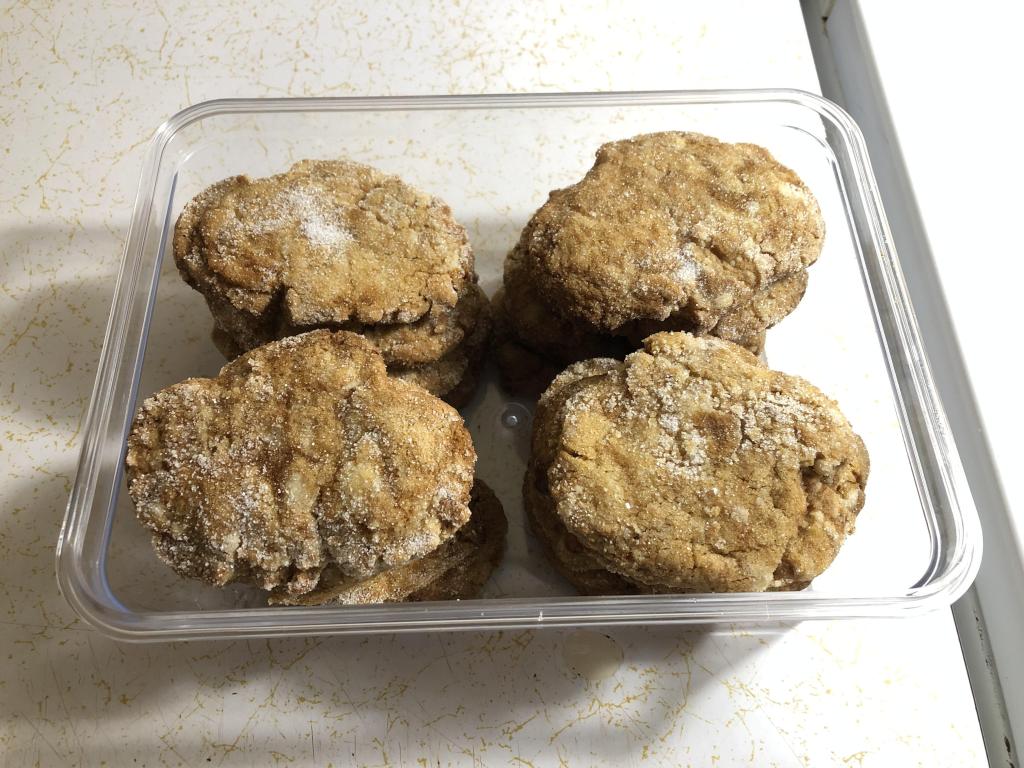
The end result:
Also, I will attempt to stick a strict schedule of posting (at least) one blog post a month. (I see that I have just made it for this month!) This is more than I have done this year, but I think is still a realistic goal to give myself. I have the next eight blog posts already laid out and I’m hoping to write about a wide plethora of topics in the coming year, which I’m looking forward to! The posts are on a schedule that is laid out on my whiteboard, which is in my face every day, so it will be hard for me not to adhere to it. To be honest, I’m optimistic that I will be able to stick to that schedule. I’m also planning a special blog post for January, so stay tuned for that!
Finally, I’m hoping to get back into podcasting meaningfully next year. I’ll actually lose my RSS feed for an indefinite amount of time (it really is not cheap to maintain), which means that my episodes won’t be on Spotify, Google Podcasts, etc. starting early next month. However, they will remain on YouTube. I would love to have an RSS feed again in the future if my podcast becomes more popular! In any case, if you have any ideas for guests I should interview, please let me know.
Yours truly,
Jo

Leave a comment